

How to make free 3D intros for YouTube – The presentation of a YouTube channel is one of the indicators of the quality of the content. Those who are dedicated to creating an introduction, certainly have aspirations to grow on the platform and offer users differentiated productions.

However, creating these introductions, until then, was a job only for those with some familiarity with video editing software. The Panzoid service, available online and free of charge, can be a great alternative, because with it you can do free 3D intro for a channel on YouTube.
In this article, we will explain more details about the service and how to make your own creations on the platform.
Also Read : How much does YouTube pay for video viewing ? Find it out!
How to create introductions for free using Panzoid
The Panzoid is a completely free tool and requires no registration. To use it, just access the website and enjoy its tools. Let’s learn how to create an introduction video.
Step 1. Access the Panzoid website and, on the home screen, click on “Clipmaker”.

Step 2. With the Panzoid editor open, check the left column. There are several intros templates available for editing. If you prefer, click on “New Project” to start a new project.

Step 3. Now it’s time to set up the video. In the second tab, on the left side of the page, edit the options “Video resolution”, “Frame rate” and “Lenght (seconds)”.

Step 4. In the third option it is possible to configure scenes from the video. The alternatives here include “Outdoor“, “Blocks” and “Darkness“.
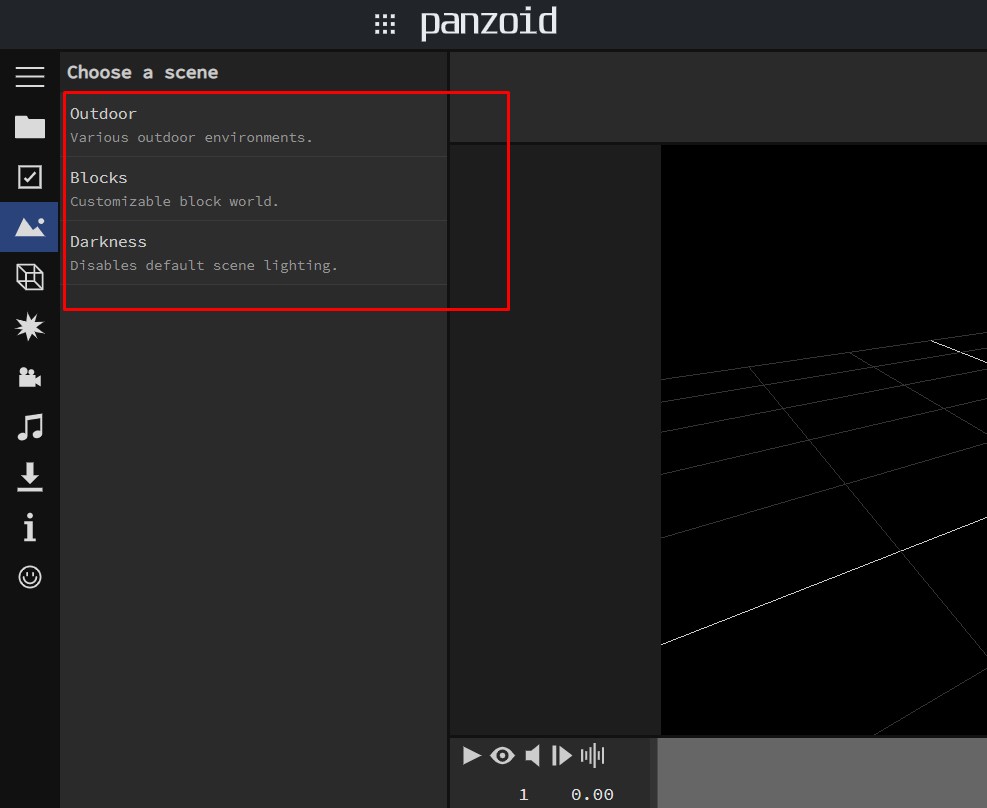
Step 5. After configuring these items, a sample will be available. The result can be viewed in real time using the playback controls. Click on the eye icon and press “Play” to watch.

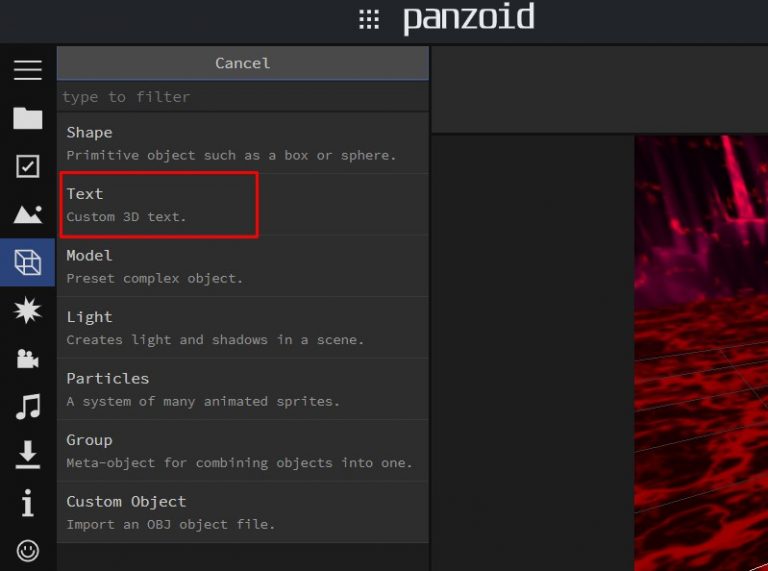
Step 6. In the fourth tab are the options for changing model objects. If you want to add objects, click on “Add Object”; if you want to edit a text, select “Text”.
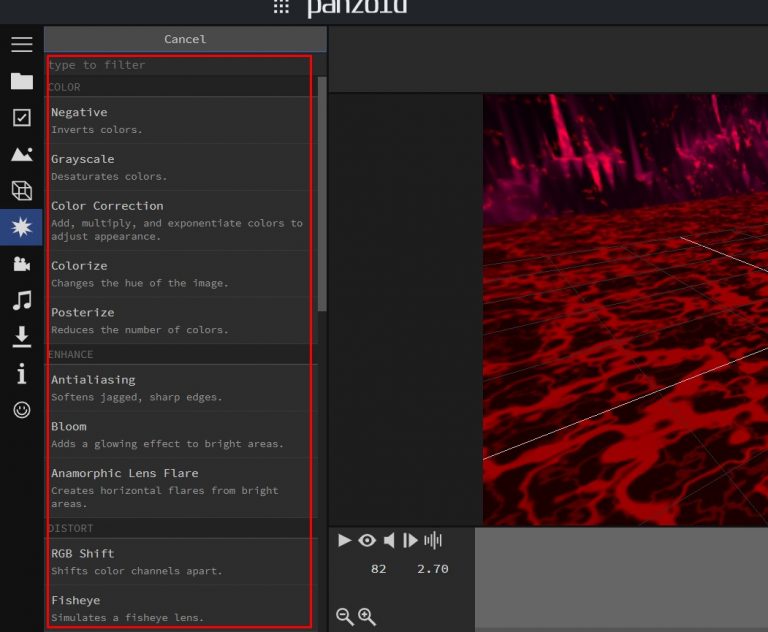
Step 7. In the fifth tab are the tools for editing effects. Test each one to see how they work. If you like any, choose “Add Effect”.
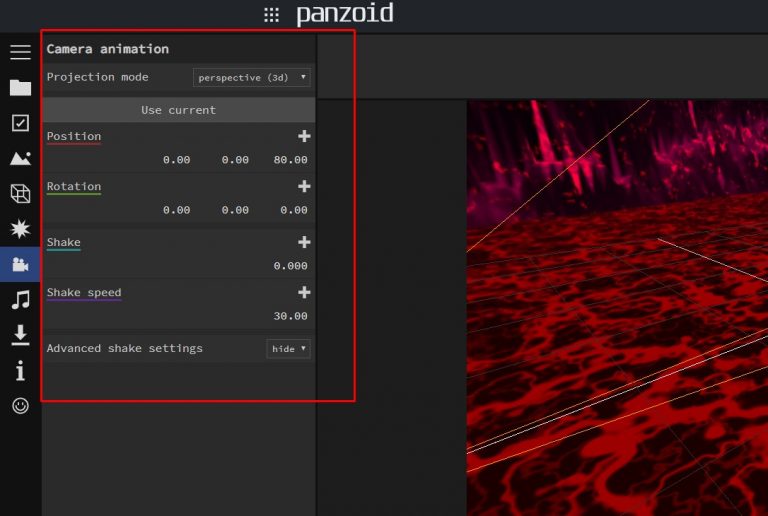
Step 8. In the tab indicated by a video camera, it is possible to adjust other animation options, which includes vibration, position, rotation and speed, among others.
Step 9. In the tab with a music symbol, choose a new audio file – go to “Select” – to include it in your video.
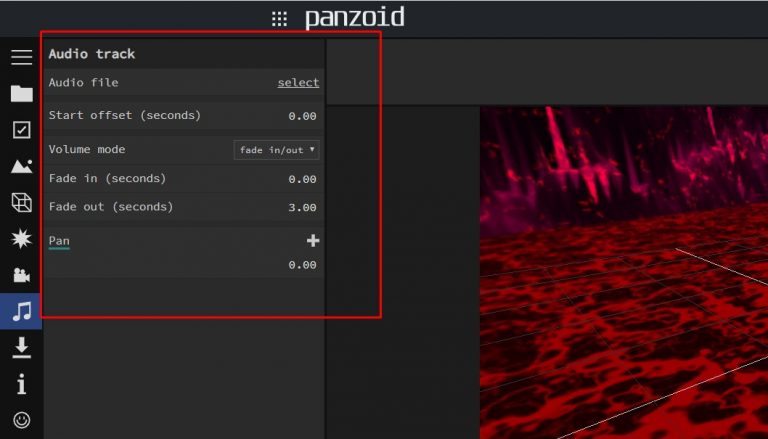
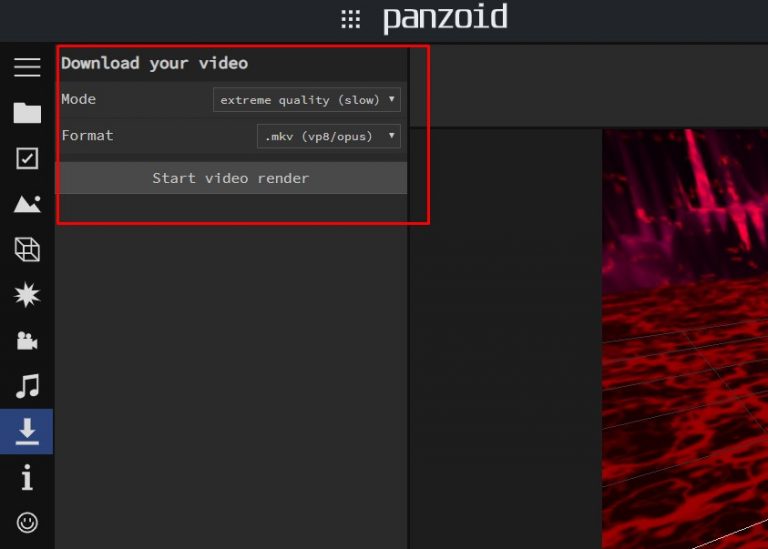
Step 10. You have finished editing your intro video, but now you need to render it. Click on the arrow icon and choose a mode (“Mode”) and file format (“Format”).
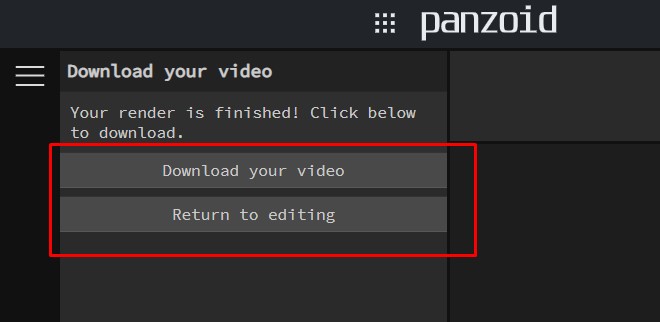
Step 11. Finally, wait a few minutes for the website to finish rendering the video. When the process is finished, two options will be opened: “Download your video”, so that you can download and save the edited video on the PC; and “Return to Editing”, to continue editing the project or making corrections.
Use and abuse the platform
Although Panzoid does not have as many features as professional video editors, the simplicity of using the tools is one of the main differentiators for those just starting out. Even if you have never edited a video, with Panzoid controls you can do your first tests and get good results.
Also Read : How do YouTube views work ? Understand how the platform works

