If you don’t know how to capture a Screenshot in Windows, This article will be super beneficial for you. You can use more than 2 Methods to do so. Isn’t it interesting. We will soon be posting another article for Mac users as well. That How a Mac user can capture a screenshot. You are familiar with the use Snipping Tool which can helps you to make changes or notes, then save, and share etc. Here we will be telling you methods for all the Windows Operating Systems such as Windows 10, and 7.
In the present scenario, there are numerous ways to make or capture a screenshot, which is also known as a screen capture, in Windows. The methods mainly depends upon which version of Windows you are using. Check Out More…

So, hey guys What’s up. It’s me Rishabh back with another Tech Tutorial by Trenovision. In this article, we will learn How to take a Screenshot in different Versions of Windows OS. Right! So, without wasting no more time, let’s get into it. And, i will recommend you to read it to the end for better understanding.
Table of Contents
HIGHLIGHTS :
- Ways To Take Screenshot.
- Tips and Tricks One can Use.
- How to use a Snipping Tool?
- And many more, just stay connected with us.
{Important – Only Apply That Method Which Is Listed Under Your Windows OS , as the other ways might fail to work in your OS.}
Take Screenshot In Windows 7 :
Windows 7 has it’s own Screenshot Capturing tool which allows you to do so. In case of Windows 7, we have per-installed Software “Snipping Tool“. So, let’s see how to use it?
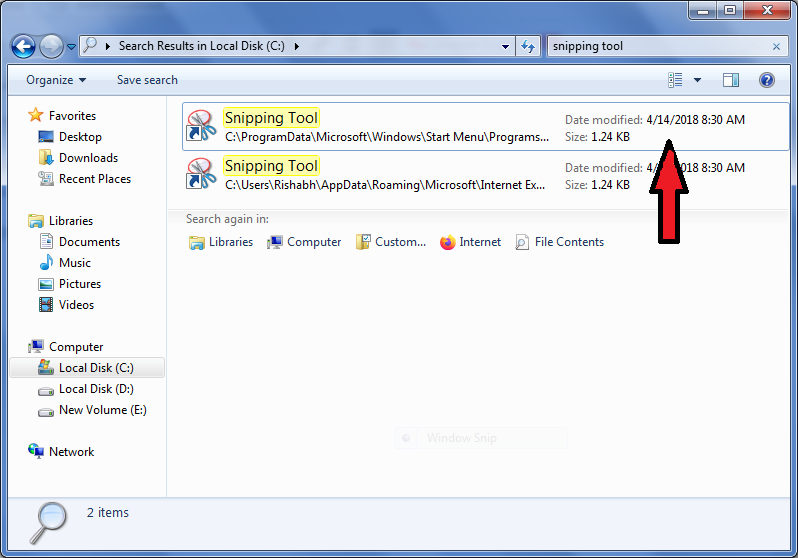
- Type Snipping Tool in the Windows Search Bar. (Alternatively – Type Snipping Tool in Windows Explorer and Click the File)
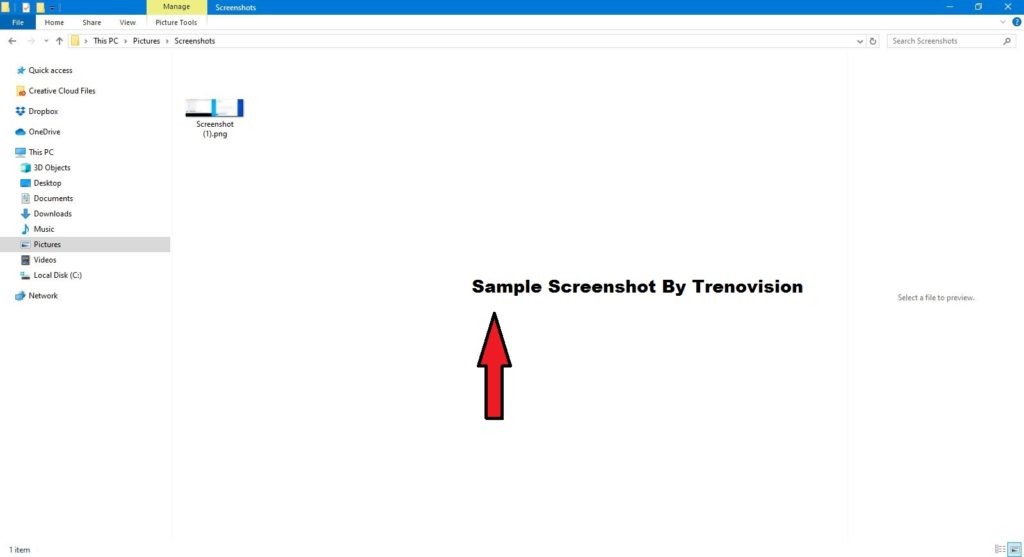
- Now, Click on New.
- Now, Click It. There You Go.

Take Screenshot In Windows 10 :
- The First Method Is The Simplest One. If you just desired to take a screen capture only of a single window. Just press Alt + PrtScn button in your Keyboard. After pressing this combination of keys, the screenshot will be auto saved to your clipboard or the preferred directory. But, due to missing print and capture drivers it can’t behave as normal.
- Snipping Tool is present in Windows 10 as well. So, if you have checked out the above steps, you can use this tool as well.
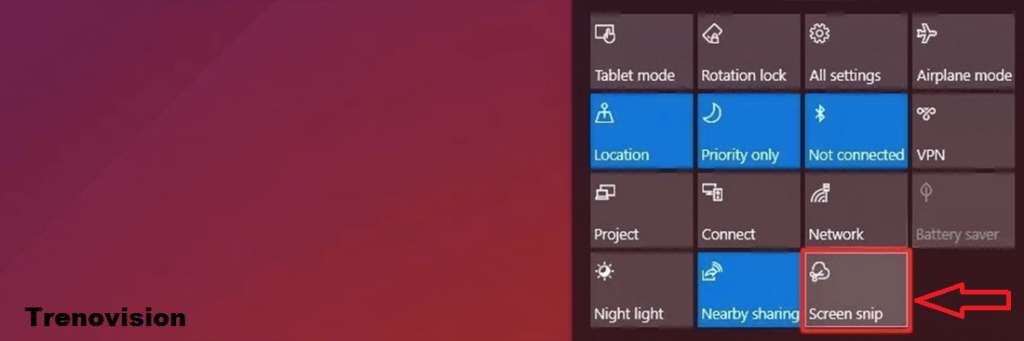
- Using Snip & Sketch Software Pr-installed in Windows 10. This one have the feature to annotate or crop your snips. One can quickly access this from the Notification Panel.
Conclusion :
Talking about These methods the most suitable is using Snipping tool. Why? You know better than me, Snipping tool isn’t highly optimized but it is great in use . While Snip and Sketch tool lags sometimes. So that’s all for today guys we will meet you in another Tech article. If you haven’t subscribe newsletter kindly go for it. Till then goodbye…
Thanks for reading…