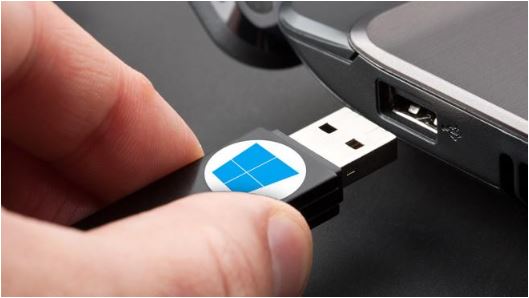
How to create a bootable USB – The vast majority of PCs and notebooks that are released today no longer have CD, DVD and Blu-ray drives. So, if you need to reinstall the operating system, it is quite possible that you need to know how to create a bootable USB drive to install Windows 10.
Fortunately, the walkthrough is quite simple. With a bootable pendrive, your PC or notebook will start searching for the operating system from the removable drive. Therefore, in this tutorial, we will teach you how to create a bootable USB stick to solve all your problems when installing (or reinstalling) Windows 10.
Also Read : Programs to make bootable USB stick for Windows
How to create a bootable USB drive for Windows 10 installation
Step 01: The first thing to do is to press the WinKey + R keys. The WinKey key is the one with the Windows logo. This command will open the “Run” dialog box. In it, type the command “diskpart”, without the quotes, and press Enter.
Step 02: Then, connect the pendrive to the PC and at the Command Prompt screen, which will open after you type the command above, type “List Disk”, without the quotes, and press Enter.
Step 03: Next, type the command “Select Disk“, also without quotes, followed by the disk number in question. In general, the pendrive is always the last disk in the list, but you can check this information by looking at the “Tam” column. It indicates the size of each disk and, therefore, it is easier to locate the pendrive in this way. If he is second in the list, therefore, his command will look like this: “Select Disk 2“. Hit Enter.
Step 04: After that, type the command “Clean“. He will be responsible for erasing all data on the flash drive. So make sure beforehand that there are no important items saved in it.
Step 05: With the disk completely clean, it’s time to move on. Type the command “create partition primary” and hit Enter. He will be responsible for creating a primary partition. Once this is done, type the command “active” to activate it.
Step 06: We are reaching the end. Now it’s time to format the new partition to associate it with a letter, so that that drive can be accessed by Windows Explorer. To do this, type the following command, without the quotes: “format fs = fat32 quick”. After seeing a message stating that the format was successful, enter the command “assign”.
Step 07: Ready, the process is finished. Type the command “exit” to close the Command Prompt. Now just drag all Windows 10 installation files and folders directly into the USB stick.
Now your pendrive has become bootable and has been transformed into a Windows 10 installation device via USB port.
Also Read : Install Windows 7, 8, 10 from USB stick

