With the arrival of Windows 10, Microsoft has implemented a new feature in the operating system (which has been around for some time in Linux and MacOS) called ” SysMain “. This is the best alternative to conventional virtual memory in earlier versions of Windows 8, 7, XP. In the Windows 10 1809 update, Microsoft changed the SuperFetch service name to SysMain .
What is preload to memory (SysMain)?
SysMain is a feature that was re-introduced in Windows Vista under a different name as SuperFetch. It runs in the background, constantly analyzing RAM usage and checking which applications you run most often. Over time, SysMain marks these applications as “frequently used” and preloads them into RAM. The thing is, when you want to run an application, it will launch much faster because it is already loaded into memory.
As mentioned above, “Service Host: SysMain” is a new feature released with the release of Windows 10 that aims to become an alternative to the paging file, improving overall computer performance. Unlike the paging file (which can be enabled, resized, disabled, etc.) This option is enabled by default in Windows 10.
In earlier versions of Windows 10, SysMain was called SuperFetch and was associated with the “Sysytem” process, which was surprising that the process consumed large amounts of memory. SysMain is the best option for paging file, but not without flaws, because the system always uses the processor to access the compressed memory, which can slow down the computer.
How does preloading into memory (SysMain) work?
By default, SysMain is designed to occupy all available RAM space with preloaded applications. However, don’t worry, it’s all about unused memory. As soon as the system needs more RAM (for example, to load an application that has not been preloaded), it frees up the necessary memory if necessary.
Before Windows 8.1, if the application had to use, for example, 5 GB of memory, and the computer had only 4 GB of RAM, Windows was forced to send 1 GB of this data to the paging file, which is on the hard disk. With this virtual memory you can run and use this program, but it will run slower.
Beginning with Windows 10, when the operating system needs more memory than is available, the process of compressing data, such as ZIP, into RAM, instead of sending it to the hard disk to a paging file. So, if we need to save two 6 GB and 3 GB data packets and the computer has only 8 GB of RAM, Windows 10 compresses the 3 GB packet, reducing it to 1.5 GB.
Is it worth disabling preloading into memory (SysMain)?
Windows tries to avoid the use of preload into memory when RAM is available, but if some data requires a lot of memory and RAM is not busy, the system will compress the data by putting it in RAM to save resources and try force the best computer work.
Most of the data is stored in RAM, so that the system can gain direct and trouble-free access to it. In virtual memory or when calling the paging file, data is stored on the hard disk, which reduces the time it takes to convert data from the hard disk to RAM.
The problem, however, is that in most cases, SysMain begins to consume too much resources, showing 100% disk usage, and thus slows down the computer dramatically. Sometimes, SysMain also consumes all the CPU power, not the disk … but ultimately it doesn’t matter what it does, because the result is the same: the computer runs slower.
So … should you disable SysMain in Windows 10? Yes, if this causes problems, then don’t hesitate to turn off SysMain and fix high disk or CPU usage.
How to disable preload to memory (SysMain)?
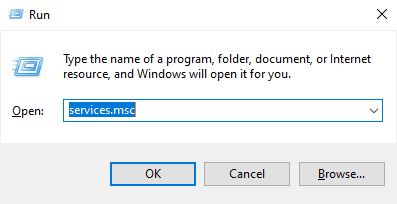
This is easily done: first press the Windows + R , then type in the new window that appears, services.msc or search in the Start Menu search for ” run .”
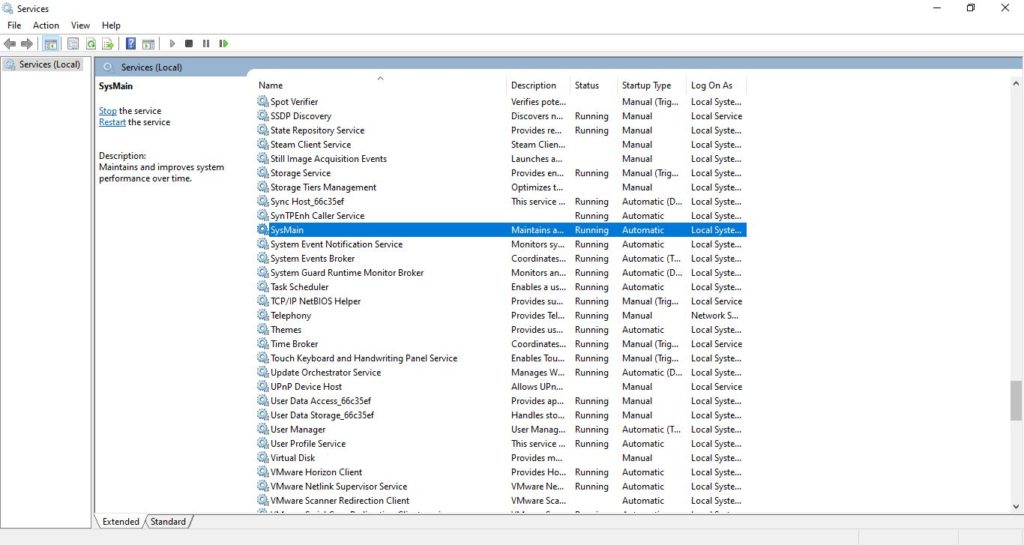
Now you will go to the screen showing all services on your system (running, stopped or disabled) and usually changing any settings in services is not a good idea unless you really know what you are doing.
In this case, you are trying to turn off SysMain, which is safe and will actually help you speed up your computer or laptop if it causes problems.
In the Services (local) category, scroll down the list until you find SysMain , as in the following screen:
Right click and select ” Properties ” to access the settings:
After going to the properties, click the ” Stop ” button next to the service status, and then from the menu above in the run mode section , select ” Disabled ” instead of ” Automatic “.

To confirm the new settings, click Apply .
Final Words
From now on, the SysMain service will be disabled and will not restart. After disabling SysMain in Windows 10, you should no longer have problems with it related to 100% disk or CPU usage. The service can be reactivated (usually after a new Windows 10 update), but if this happens, you already know how to turn it off to regain control of your computer’s performance.
If disabling the SysMain service did not help solve the problem with 100% disk usage, then read our previous guide on how to fix 100% disk usage in Windows 10 for more information.